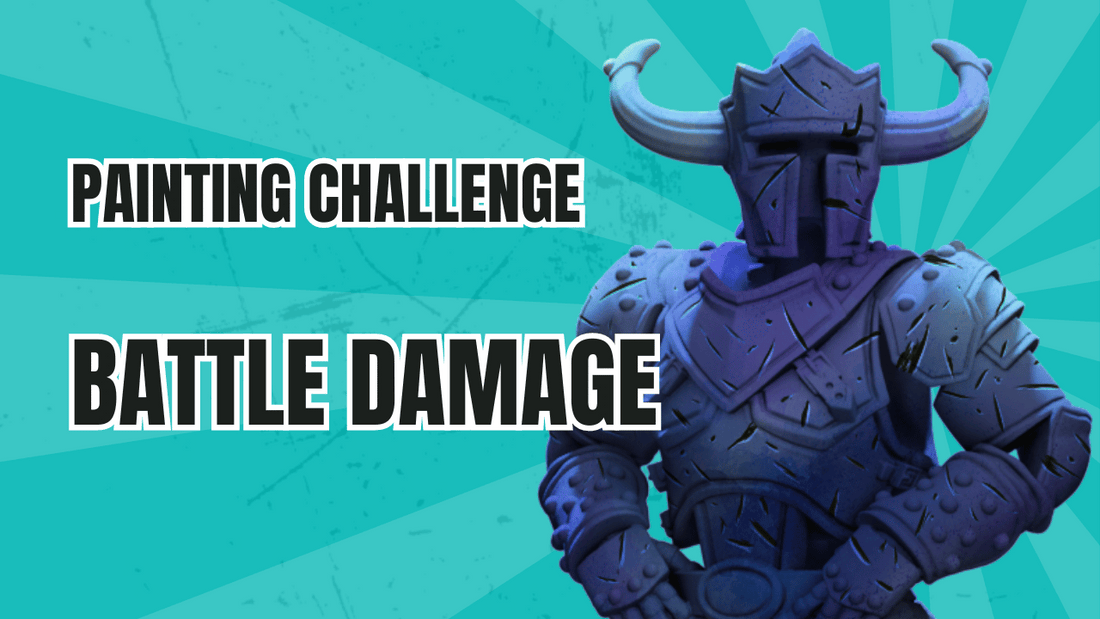
Painting Challenge - Battle Damage
Dan KellyShare
Brief:
Paint a model with realistic battle scars and wear. This will enhance your skills in weathering and creating narrative details.
Difficulty:
⭐⭐⭐☆ ☆ (Medium)
Challenges:
Precision and keeping your hand steady when painting the highlights on your scratches.
Being consistent with your highlight placement - irregular placement will make your battle damage look off.
Tips:
- use a brush with a good fine tip - it doesn't have to be a tiny brush, but one with longer bristles will help you with keeping a straight thin line
- Use a model that doesn't have sculpted battle damage so you can see the effect at it's best. Done right you won't notice that the damage effect is painted on a smooth undamaged surface.
- If you're going to be glazing shadows and highlights onto your model, you can do them after you've painted the battle damage onto the base colours and it will soften the effect of the damage a bit and make it blend with the model better. you can then do a second pass of damage to create some more extreme contrasting elements.
Step-by-Step:
- Paint the model: It sounds over-simplistic, but first you need to paint the model to a finished level with your choice of colours. Include shadows and highlights.
- Damage Areas: Using a fine brush, paint small lines and chips in a dark colour to represent scratches and dents. I recommend Vallejo armour brown, or a similar dark brown colour. you could use a darker shade of the base colour if you prefer, but a dark brown is usually a good bet.
- Highlight Damage: Add lighter colours to the edges of the dark lines to create depth. This should be a lighter version of whatever colour you have used for the base colour of the item to be damaged Avoid pure white or your highlights will be too stark.
- Rust and Wear: Apply brown and orange washes to metal areas to simulate rust.
- Finishing Touches: Drybrush, stipple or dot metallic colours lightly over the edges to create a worn effect. This is more useful if you're painting something that is supposed to look like painted metal, so it'll look like the paint has chipped off and broken away.
Model Recommendation:
I recommend using one of our heavily armoured models, and what could be better than Klunk, the Living armour bouncer! it is literally JUST armour and is just begging for some scuffs and scratches!

