
Preparing a Resin 3D print for Painting
Dan KellyMiniatures are for many people more than merely just a physical representation of their character on the table top. For many it is a hobby in itself and the collecting and painting of miniatures is where they derive their enjoyment from the hobby.
Many of you will be familiar with resin and metal miniatures and the clean up processes involved with them, but 3d printed miniatures are produced very differently and present a different set of challenges when cleaning the model.
The first thing you will notice is that there are no mould lines or flash to clean off. this is a blessing, however it comes at a price! 3D printed miniatures require supports to enable them to be printed.
The contact diameter of the supports can vary from as little as 0.12mm up to as much as 1.2mm. Most models will be printed using a combination of sizes, with the larger ones being structural supports (anchoring the model to the build plate and ensuring there is no movement of the model during the build) and the smaller ones being enabling supports (simply allowing the smaller details of the model to print).
On metal and cast resin miniatures you need to clean off mould lines, flash, vents and feeds. On a 3d printed model you have none of these, but instead need to remove all of the contact points – small nubs of resin that can be unsightly if visible in a finished paint job. If you’re really good with your supports and you have your printer settings super dialled in you may find that you have negligible cleanup (as is the case with most of mine), but we’re going to look over how to clean them up anyway just to make sure we have all bases covered.

If you don’t understand what a support is, you can see an example in the image of the Sabre Toothed Tiger pictured above. They are similar in nature to sprues on plastic models and feed lines and vents on metal miniatures and they are required to enable a model to be printed. You can see the different thicknesses and the varying size of the tips of the supports where they contact the model. Most of them will be completely removed by just pulling them off, but some of the larger ones will need some extra attention to avoid damage to the model.

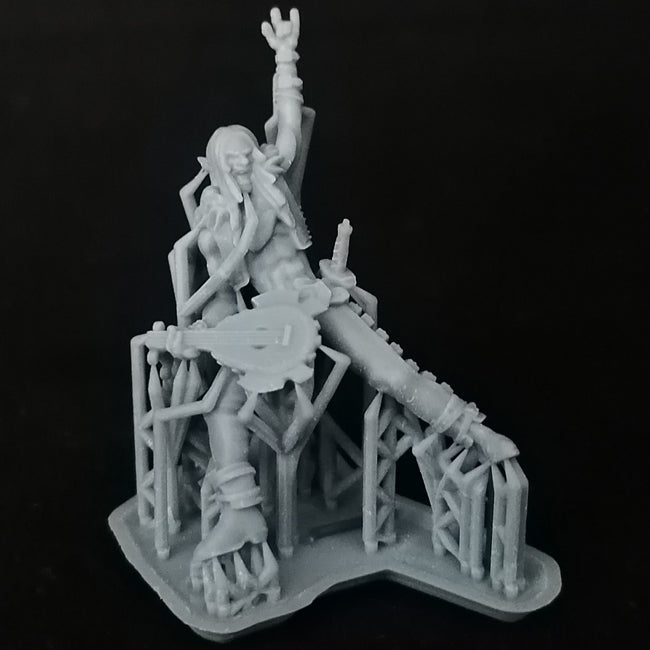
This is one of our miniatures printed on an older Elegoo Mars back in 2019. The print quality isn't as good as our current printers but it serves the purpose for this demonstration.
Most of the supports have been removed but if you refer to the image further down, you can see the model from multiple angles and the support contacts and areas for clean up have been highlighted.
The Blue circles show where the larger support tips have contacted the model and been removed but have left a residual stub to remove. This can be done with a small file (I find a half round ‘D’ shaped type file with a pointed tip to be the best for this work), or depending on the location you can nick them off carefully with a craft knife or scalpel. With our prints the knife works fine, but with some resins you need to be careful as they can be very brittle and trying to cut a support stub can result in a chip in the surface of the model which you’ll need to fill.
The Green circles show some small supports which have not been removed and require removing. you can clip these off with a pair of hobby clippers and then clean up the stubs as described above.
The Red circle shows an unusual mark left where a support has printed too close to the surface of the model and partially fused to it. The support has been removed but a slight surface scar is left. This can again be addressed with a light rub with a file
I clean up a lot of models and this particular one took me less than 2 minutes to quickly remove all of the marked blemishes. if you aren't so familiar it could take up to 10 minutes but you’ll get faster the more you do.
The final images below show the same model fixed to a flagstone base using superglue and given a coat of grey primer and a light drybrush to show off the details. its now ready to paint.

Below is the finished model, with a flagstone base added and a Primer applied. The model has been given a light drybrush to help show the details.


